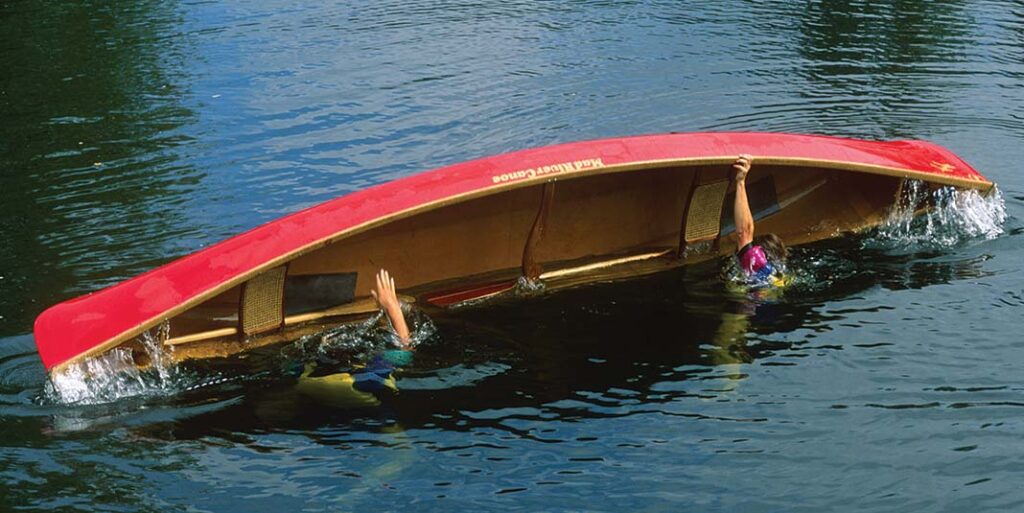
Today’s blog is going to discuss how to right a capsized canoe in 4 easy steps.
If you can, swim your canoe to shore. If you are too far from shore and need to right it, follow these steps.
How to Right a Capsized Canoe If You Are Solo in The Canoe
Step 1 – Flip the canoe back upright, water will still be in it.
Step 2– Position yourself along the side of the canoe and grip the middle of it.
Step 3– Begin to pull and push the canoe, this rocking motion will help to remove some water.
Step 4– Reach to the far side of the canoe while most of the water is still there, and pull yourself back into it.
If You Have a Partner With You
Step 1 – Both people should go to the same side of the flipped canoe.
Step 2 – Both people then grab the closer edge and push up to bring the canoe level again.
Step 3 – Once the canoe is upright and mostly drained of water, one person then moves to the front of the canoe and the other to the rear, making sure you are on the opposite side. e.g. One person is front right and the other is back left.
Step 4 – Once you are both at the ends of the canoe and on opposite sides, make a synchronous futter kick and pull yourself back into the canoe. Be sure to do this at the same time to prevent further canoe tipping.
Please note – If you are not capable of writing a canoe or there is a risk of hypothermia, abandoning the canoe and swimming to shore may be the best option. Every situation is different, so carefully look at all options and act accordingly. Be Safe.
If you want to see a video on a few other techniques, Click Here!


